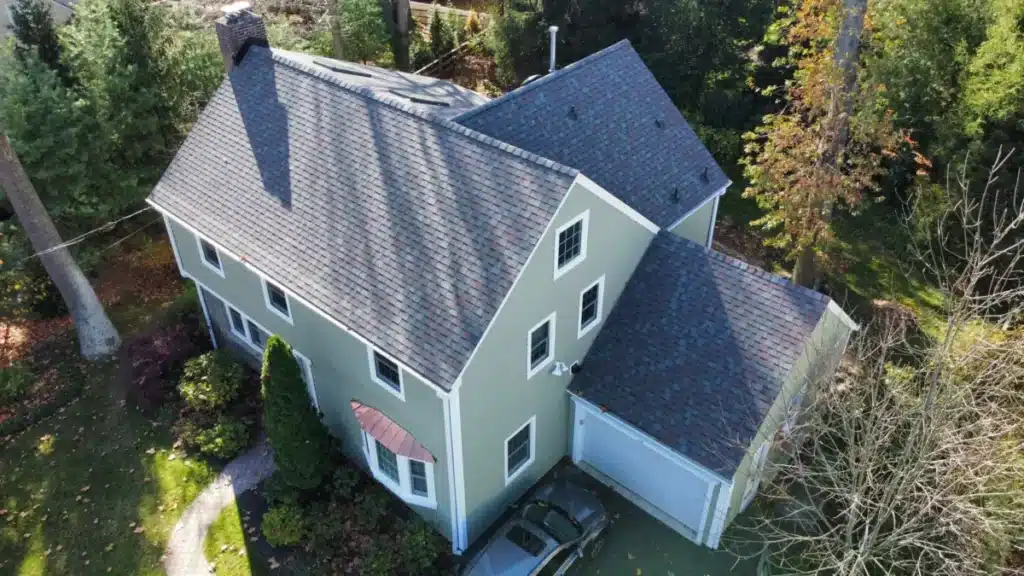
During the winter months, ice and water shields are necessary when protecting your roof from potential water damage. The best way you can protect your home is to install an ice and water shield.
Read on to find out more about these ice and water shields and why they are important.
What is An Ice and Water Shield?
The function of the ice and water shield is to help prevent water that backs up behind an ice dam from leaking into your home. It is a durable weather lock mat that protects your home against wind-driven rains and normal water flows. Ice and water shields are applied around eaves, rakes, valleys, vents, chimneys, and skylights.

The ice shield has to extend far enough up the roof to seal out water leaks if an ice dam does form. Here in the Northeast, the winter of 2015/2016 drove home the importance of installing ice barrier membranes. A building code was written to require these shields. During that winter, ice dams and roof leaks were common on houses outfitted with a single 36-inch width of ice barrier membrane.
How Can Novalis Help?
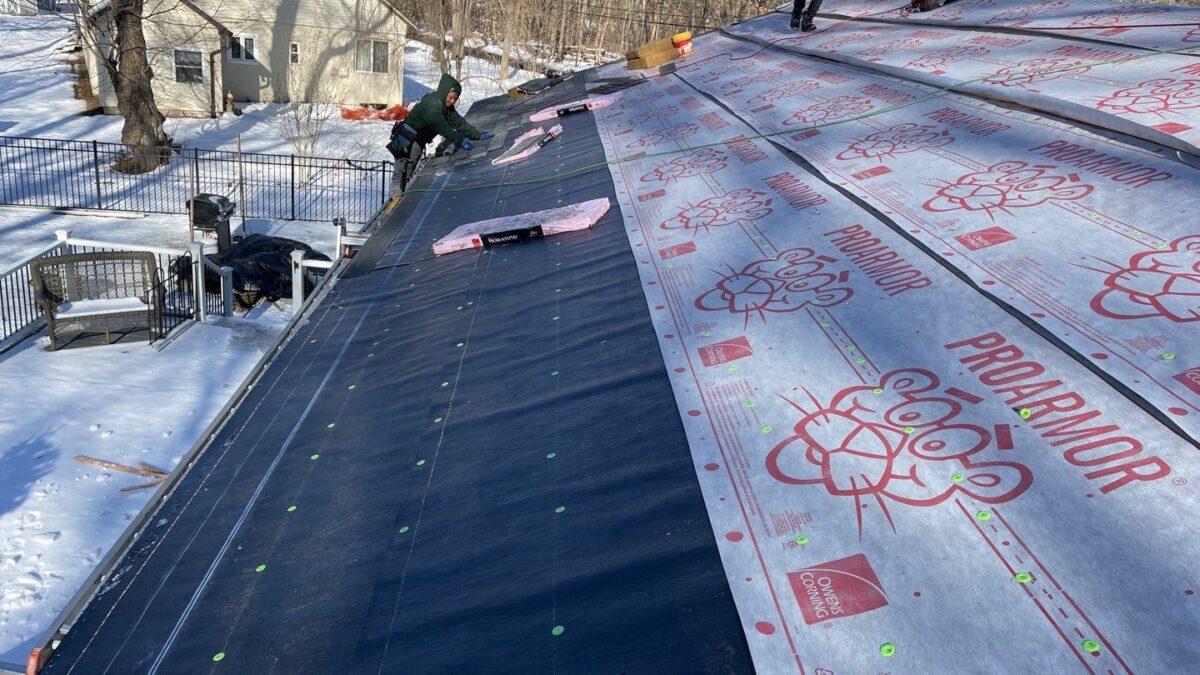
Since New Jersey weather leaves our roof susceptible to ice dams, Novalis takes your protection a step further when installing a new roof by using 6 feet of ice and water shield at the eaves. We do this to always give extra protection leaving zero chance for water to enter the home.
We understand getting a new roof is a large decision and investment. You want to make sure you take the right precautions to protect your roof. Novalis Roofing & Siding uses two 3 feet rolls as a standard when it comes to ice and water shields.
What is the Installation Process?
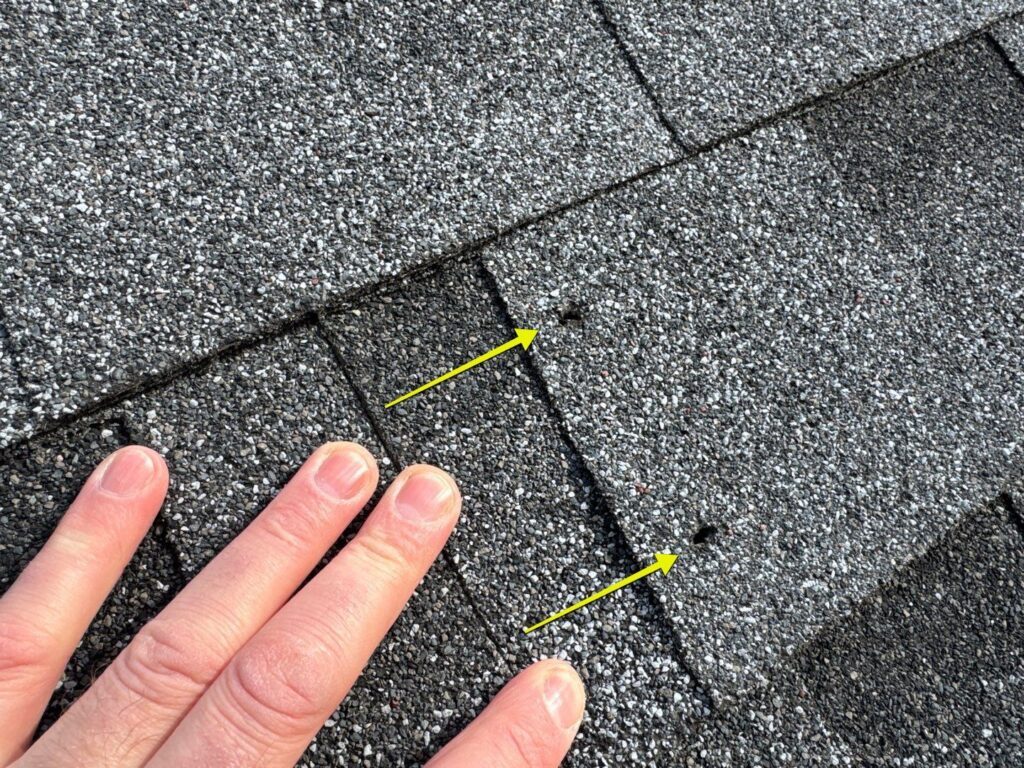
Novalis roofing professionals install ice and water shield on all eaves, rake edges, overhangs and valleys, as they are most vulnerable to ice dams and wind-driven rain. We also install the shield around skylights and chimneys. Novalis Roofing & Siding uses only the best materials, Owens Corning’s self-adhering weather lock mat, when installing these shields.
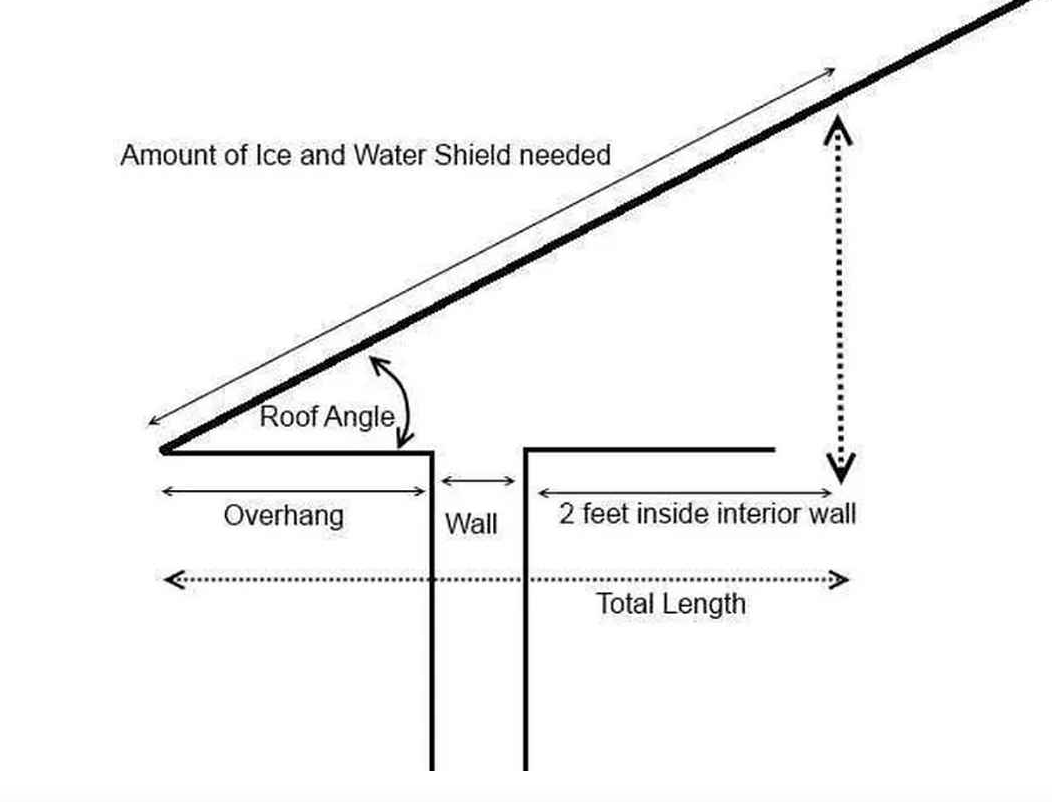
To set the height of the ice protection membrane according to the building code, we will measure 24 inches, 2 feet, from the interior of the exterior wall and plumb up to the roof plane. The distance from the lower edge of the roof to the intersecting point of the slope and the plumb line is the minimum required height of the membrane.
As seen here, the height of the membrane increases as the roof pitch increases.
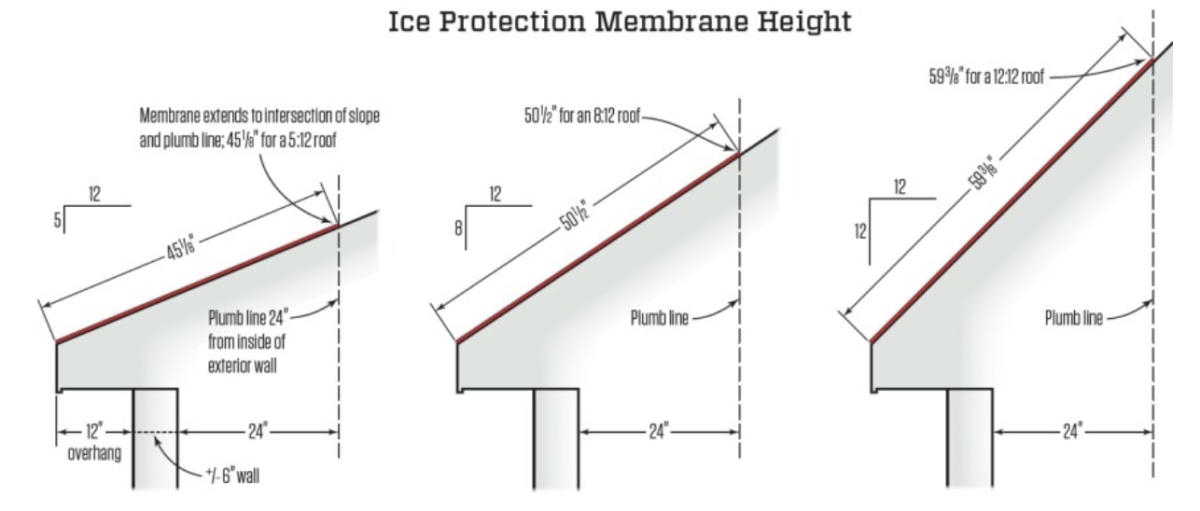
To illustrate how far up the roof sheathing ice barriers have to reach, here are some examples using common slopes on roofs with a 12-inch eaves overhang (12-inch soffit)
- For a 5:12 roof slope, the ice barrier would have to extend 45 1/8 inches up the roof
- For an 8:12 roof, the barrier would need to extend 501/2 inches
- For a 12:12 roof, that distance becomes 593/8 inches
The underlayment will come in 3 ft rolls and Novalis uses two rolls ensuring 6 feet worth of underlayment covering the proper measurement and a little extra.
To reduce the chances of ice dam formation is to install adequate roof and attic insulation. This will prevent warm air from the conditioned space from leaking into the attic.
Protect Against Winter Roof Damage Today!
Don’t leave your home’s roof exposed to potential water damage this winter. Novalis Roofing & Siding is here for all your water and ice shield needs!
Contact us at Novalis Roofing and Siding in Chatham, NJ to learn more and get started today!